No somos muy de regalar por San Valentín, pero hemos pensado que este cuello para hombre sería un regalo perfecto para vuestra pareja. Nada mejor que algo tan agradable, y tejido con mucho amor. ¡¡Manos a la obra!!
We don´t normally give gifts for Valentine’s Day but we thought that this cowl would be a perfect gift for your partner. Nothing better than something knitted with love.Let´s get started!!
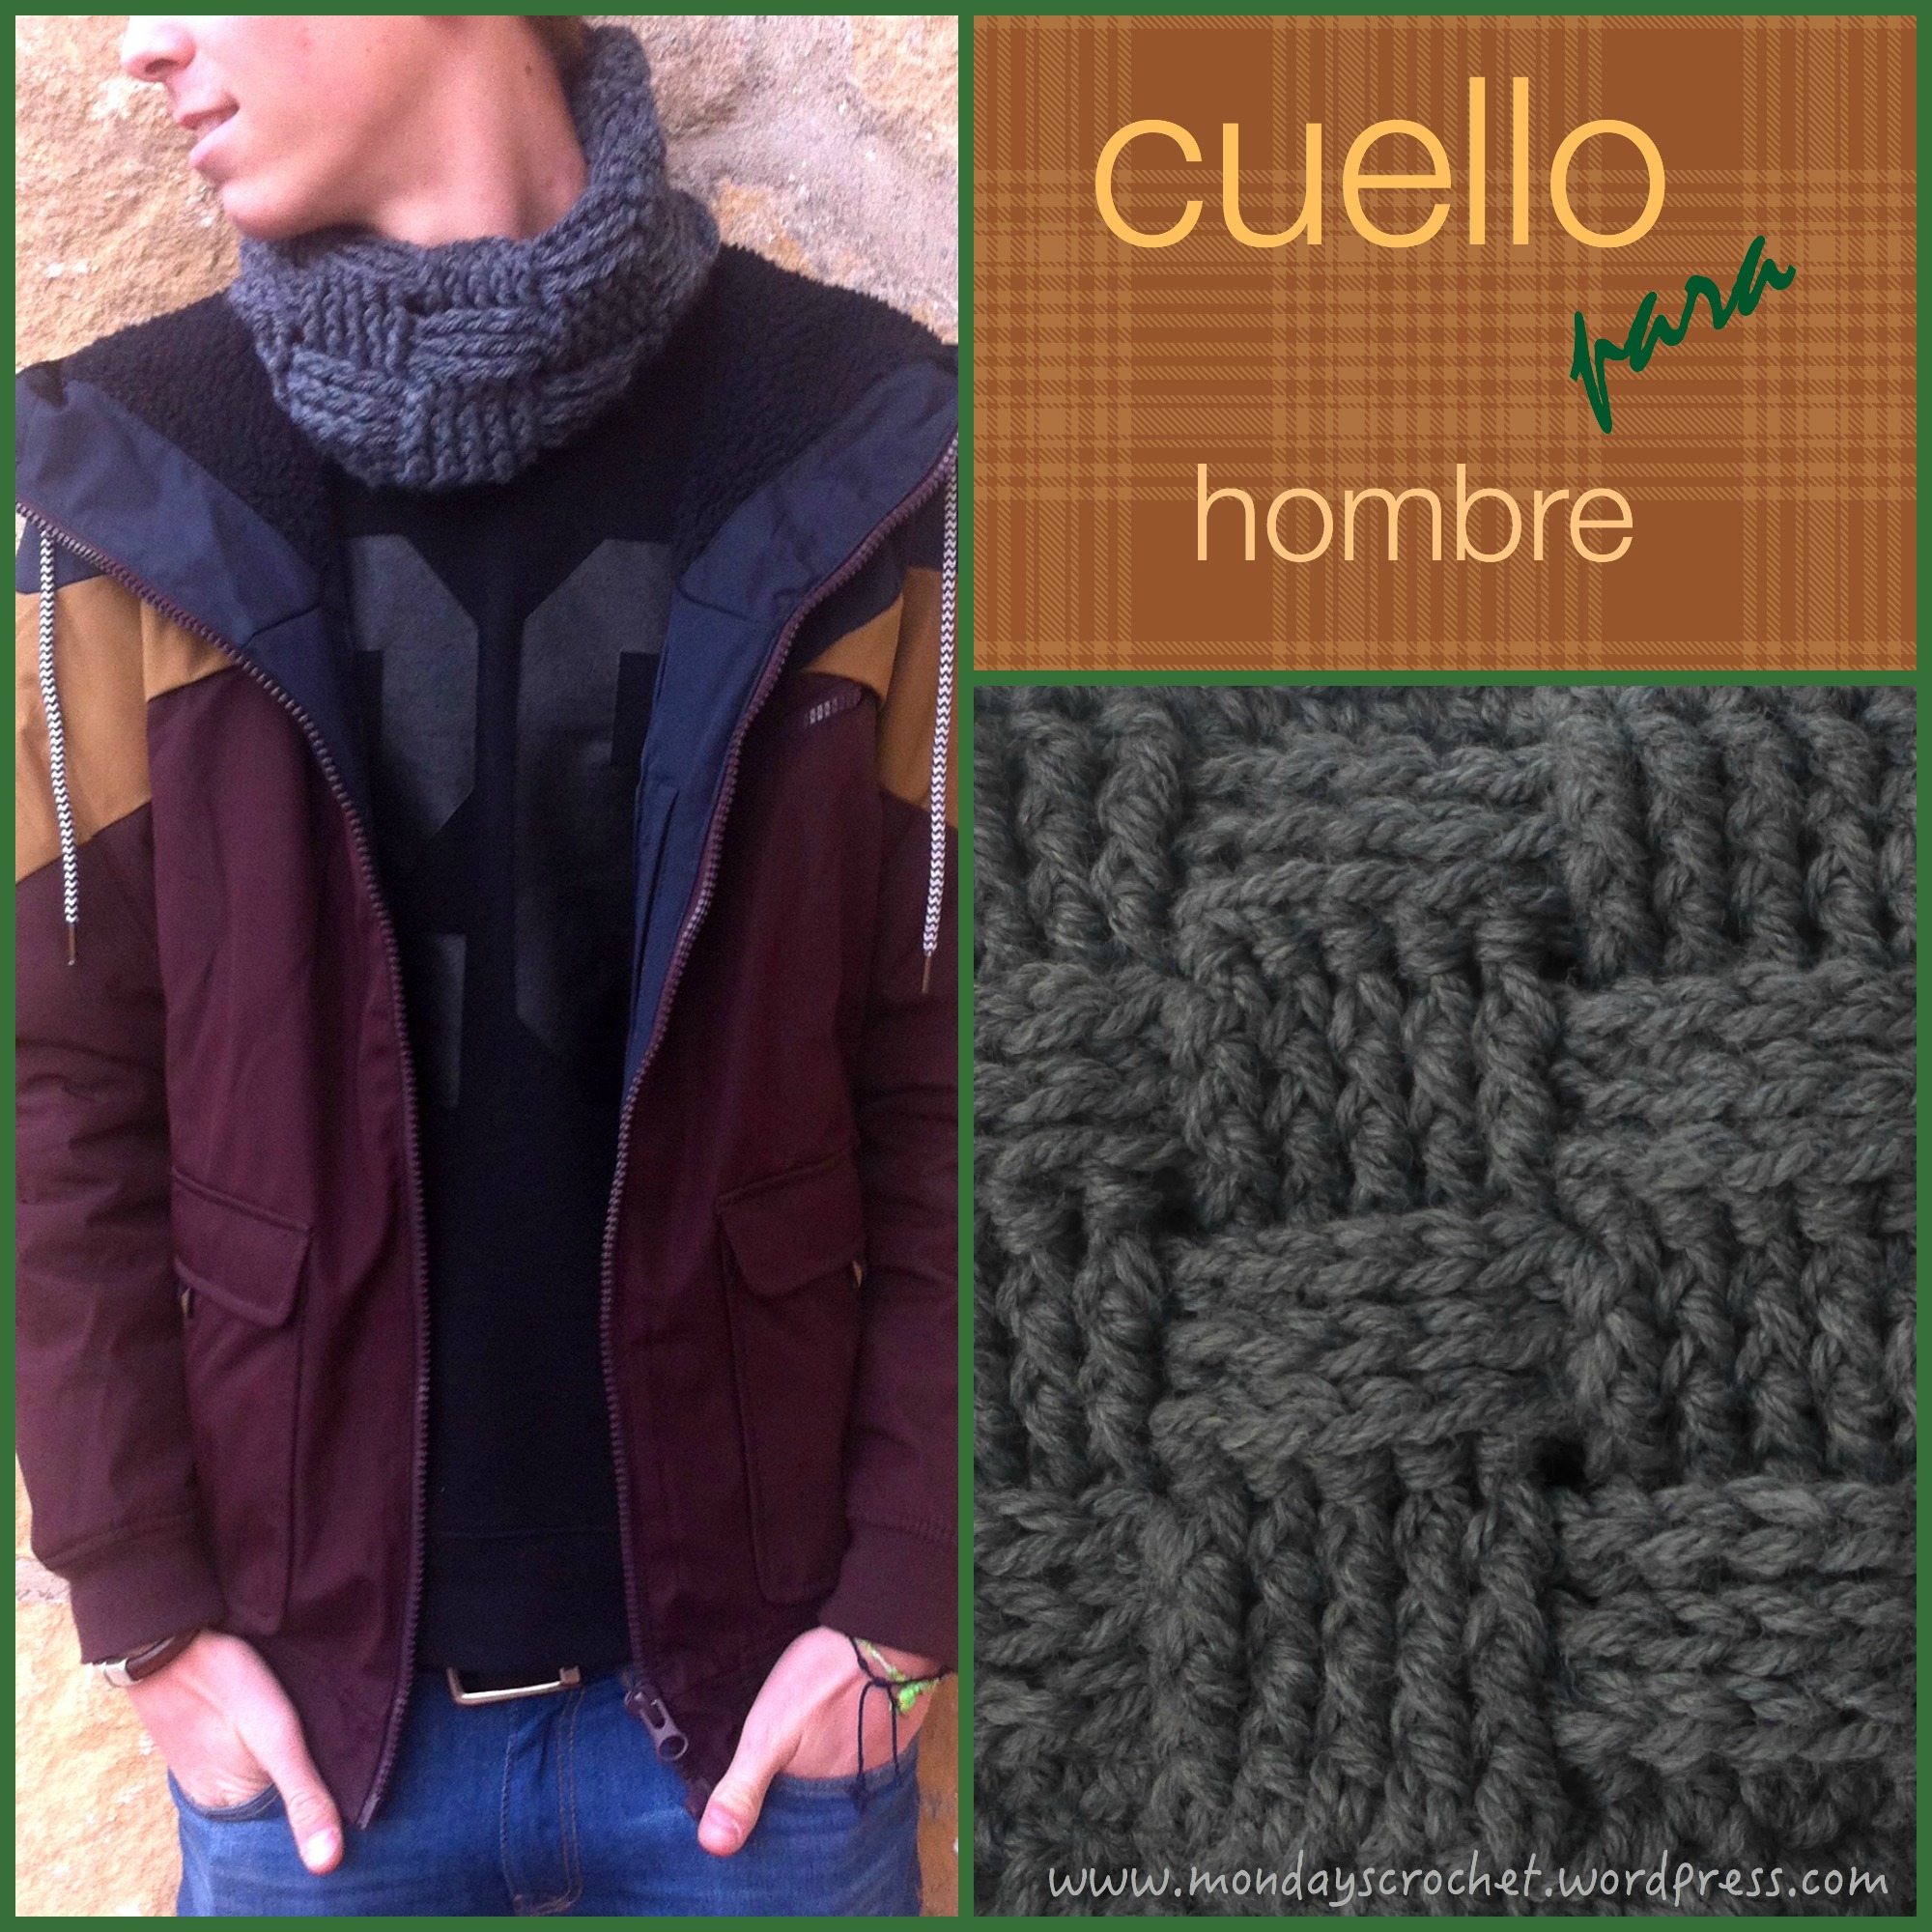
TUTORIAL PARA UN CUELLO DE 54 cm DE DIÁMETRO Y 20 cm DE ALTURA / TUTORIAL FOR COWL 54 cm DIAMETER AND 20 cm HEIGHT
GRADO DE DIFICULTAD
Medio
MATERIALES
100 gramos de lana gruesa
Aguja de 6 mm
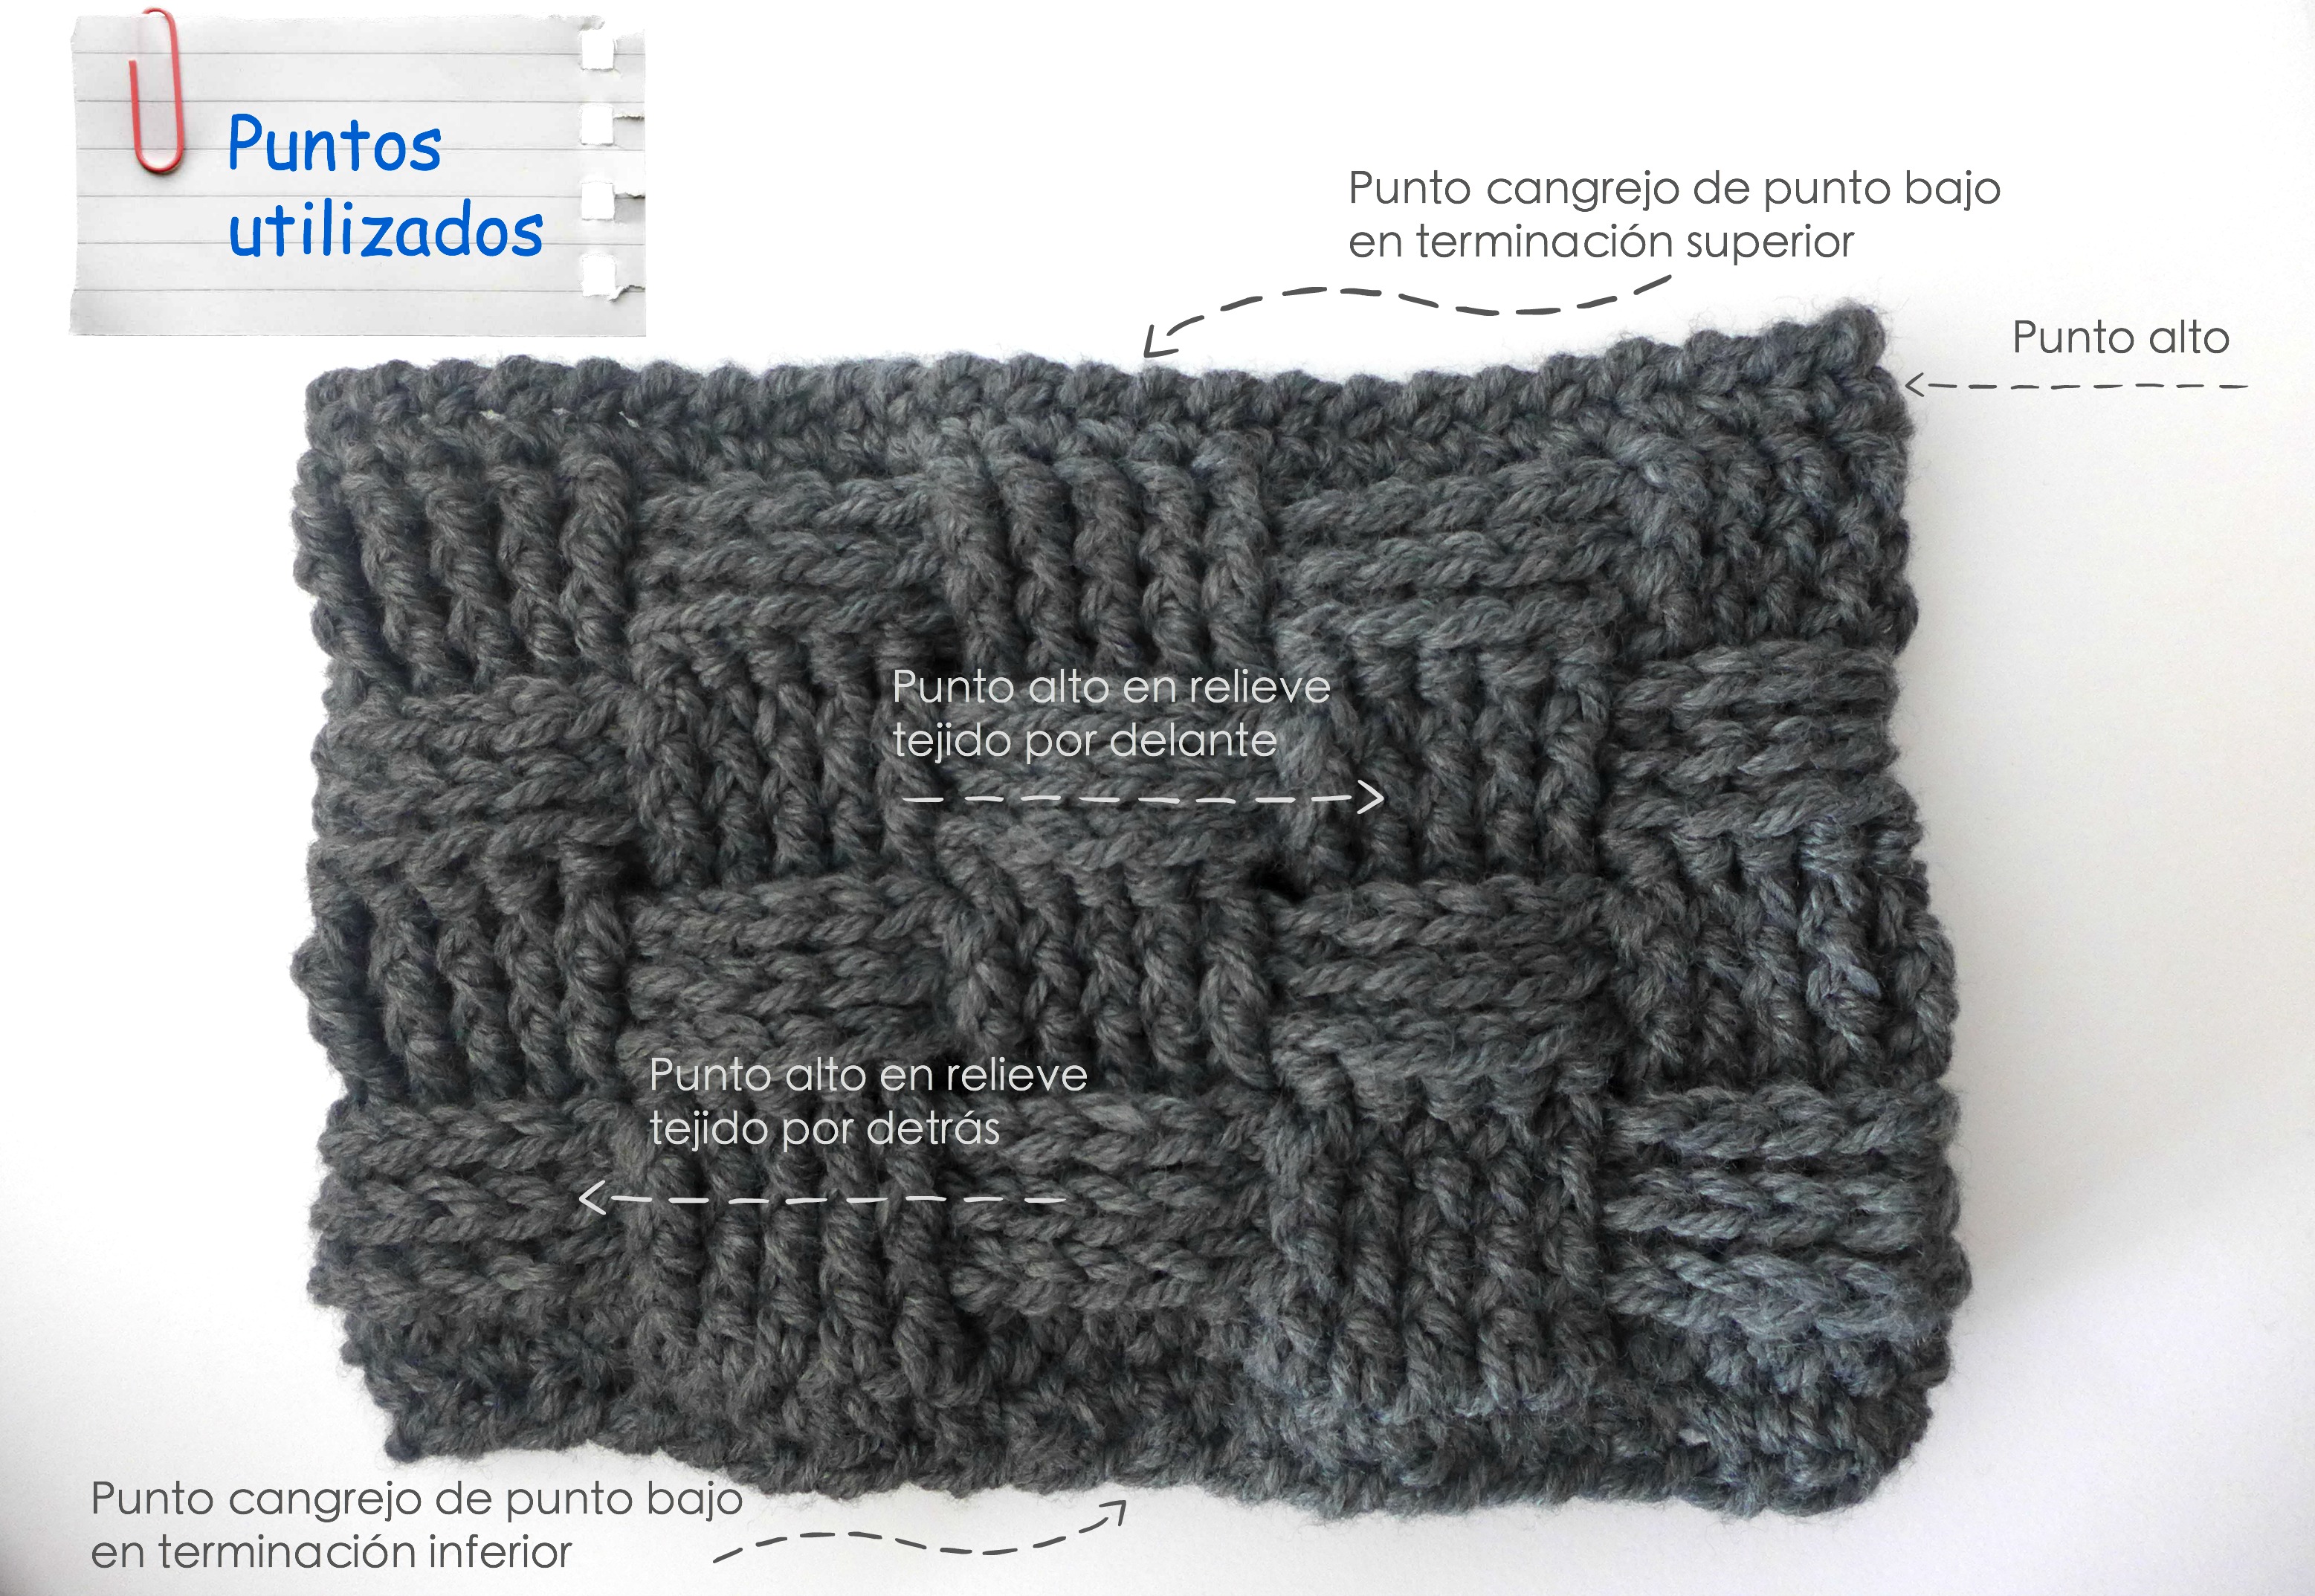
PUNTOS DE CROCHET UTILIZADOS
- Cadeneta (c.a.d.)
- Punto alto (p.a.)
- Punto alto en relieve tejido por delante (p.a.rel.del.)
- Punto alto en relieve tejido por detrás (p.a.rel.det.)
- Punto cangrejo de punto bajo (p.can.pb.)
DIFFICULTY
Medium
MATERIALS
100 grams of thick wool
Hook 6 mm
CROCHET STITCHES
- Chain (ch )
- Double crochet (dc)
- Front post double crochet (FPdc)
- Back post double crochet (BPdc)
- Crab stitch (RSC)
Hemos calculado el número de puntos de cadeneta para formar múltiplos de 5 puntos y obtener el gráfico deseado de cuadrados alternos.
VUELTA INICIAL: 50 c.a.d.
VUELTA 1: 3 c.a.d. para comenzar la vuelta, 49 p.a. y cerrar con p.c. en las cadenetas del primer punto. Rematar con una aguja de coser el inicio de la labor para cerrar el cuello.
VUELTAS 2 a 4 y 8 a 10: 2 c.a.d. para comenzar la vuelta. 5 p.a.rel.del. y 5 p.a.rel.det. Repetir hasta terminar la vuelta con punto corredizo en las c.a.d. iniciales.
VUELTA 5 a 7 y 11 a 13: 2 c.a.d. para comenzar la vuelta, 5 p.a.rel.det.y 5 p.a.rel.det. Repetir hasta terminar la vuelta con p.c. en las c.a.d.a iniciales.
VUELTA 14: 3 c.a.d. para comenzar la vuelta, 49 p.a. y cerrar con p.c. en las c.a.d. del primer punto.
VUELTA 15: Remate de la parte inferior y superior del cuello con p.can.pb.
We have calculated the number of chains to form multiples of 5 and obtained the desired alternating squares.
- STARTED ROW chain 50.
- 1 ROW Chain 3, 49 dc, join with slip stitch.
- 2 to 4 and 8 to 10 ROW: chain 2, *5 FPdc, 5 BPdc*. Repeat **.
- 5 TO 7 AND 11 TO 13 ROW: chain 2 *5 BPdc, 5 FPdc*. Repeat **.
- 14 ROW: CHAIN 3, 49 dc, join with slip stitch.
- 15 ROW: Finish off with RSC at the top and botton of your work.

DESCRIPCIÓN DE LOS PUNTOS / STITCHES DESCRIPTION
PUNTO ALTO (p.a.) / DOUBLE CROCHET (dc)
Echar una hebra sobre la aguja. Introducir la aguja por la cadeneta o punto realizado en la vuelta anterior. Coger hilo y sacarlo por la cadeneta. Volver a coger hilo y sacarlo por dos lazadas. Volver a coger hilo y sacarlo por las dos lazadas que tenemos en la aguja.
Insert the hook into the given stitch, yarn over hook and draw through a loop, (2 loops on hook), yarn over hook and draw through 2 loops on hook (1 loop remains on hook).
PUNTO ALTO EN RELIEVE TEJIDO POR DELANTE (p.a.rel.del.) / FRONT POST DOUBLE CROCHET (FPdc)
Echar una hebra sobre la aguja. Introducir en el punto alto de la vuelta anterior cogiendo por delante todo el punto alto. Sacar la lazada del punto. Coger hilo y sacarlo por las dos primeras lazadas. Coger hilo y sacarlo por las dos lazadas que nos quedan en el ganchillo.
Chain (ch) 2 for your first double crochet. Yarn over (yo) and insert your hook from front to back between the posts of the first and second double crochet of the row below, and then from back to front again between the posts of the second and third stitches. Yarn over and draw the yarn around the post of the stitch. Yarn over and draw the yarn through the 2 loops on the hook, twice.
PUNTO ALTO EN RELIEVE TEJIDO POR DETRÁS (p.a.rel.det.) / BACK POST DOUBLE CROCHET (BPdc)
Echar una hebra sobre la aguja. Introducir en el punto alto de la vuelta anterior cogiendo por detrás todo el punto alto. Sacar la lazada del punto. Coger hilo y sacarlo por las dos primeras lazadas. Coger hilo y sacarlo por las dos lazadas que nos quedan en el ganchillo.
Chain (ch) 2 for your first double crochet. Yarn over (yo) and insert your hook from back to front between the posts of the first and second double crochet in the row below, and then from front to back again between the posts of the second and third stitches. Yarn over and draw the yarn around the post of the stitch. Yarn over and draw the yarn through the 2 loops on the hook, twice.
PUNTO CANGREJO DE PUNTO BAJO / CRAB STITCH (RSC)
Tejiendo en sentido inverso de izquierda hacía la derecha. Introducir en el punto alto de la vuelta anterior y obtener una lazada en el ganchillo. Introducir en el punto alto anterior de la vuelta y obtener una segunda lazada. Coger hilo sobre el ganchillo para cerrar el punto.
Insert the hook, from front to back, in the next stitch to the right. Yarn over (yo) and draw the yarn through the stitch. Yarn over and draw the yarn through the 2 loops on the hook. Repeat the preceding steps in each stitch across the row.
¡A disfrutar tejiendo y regalando!
Enjoy crocheting!!!

Chicas lo comparto en mi fanpage! Estos tutoriales tan bien explicados tiene que conocerlos la gente. Un saludo
Me gustaMe gusta
Gracias Mónica!!!! Todo un honor recibir tu comentario.
Me gustaMe gusta
Soy uno de los afortunados que puede disfutar ya de este cuello. Y sólamente decir que es FANTÁSTICO. Gracias Raquel y Lola
Me gustaMe gusta
Gracias a ti por llevarlo con ese estilazo!!!
Me gustaMe gusta
Lola me encanta! pero muy difícil para mi. Me vas a tener que dar unas clases… un beso
Me gustaMe gusta
me encanta! también para mi!!!
Me gustaMe gusta
Que bien esta chicas seguir así… Con vosotras el ganchillo se ve fácil. Muchas gracias
Me gustaMe gusta
ME ENCANTA!!! SI pudiera me ponia a ello ahora mismo… nunca pensé que un cuello podría resultar tan masculino! 🙂
Me gustaMe gusta
Guau….que bueno el tutorial!! Pasó a paso ..igual me animo a probar..gracias guapa
Me gustaMe gusta
Claro! Anímate y nos envías una foto del resultado. Besos.
Me gustaMe gusta